


JasonJones
-
Posts
340 -
Joined
-
Last visited
Content Type
Profiles
Forums
Store
Gallery
Events
Local Fish Stores
FAQ
Blogs
Downloads
Posts posted by JasonJones
-
-
I was able to get most of the work done last night, with the LEDs just tacked on to the heatsink using superglue. They come off pretty easy, I popped a few off while soldering the wires.
I was able to get the white LED string running, but something is amiss with the blue string, I will play with that more tonight. I was really impressed with the whites. It was odd when you just looked at the LEDs and could clearly see the red, royal blue and turquoise LEDs, but when you shine the light on the wall, it is a seemless white color. The addition of those LEDs also makes the white appear much less yellow than neutral whites or cool whites, seemed more in the 10-11k range to me. I am interested to see how it does when the blue LEDs are added. I may have to add in a couple more whites.
I will have to play with the LED spacing a bit, I think I have them a little far apart right now. I used a chair sitting about 8" away from the LED to block the light and see how the color banding was, it was pretty bad. The tank should not have anything that close, and the banding was made worse because it had 4 feet to separate farther because the chair was away from the wall, versus the tank where you will have no more than 12-14". I would like to bring the LEDs closer to help eliminate this, but it will be a balancing act between bringing them closer and keeping them cool. The color is the most important, I can always add fans above the hot spots if necessary.
Here are some pics I took throughout the process.

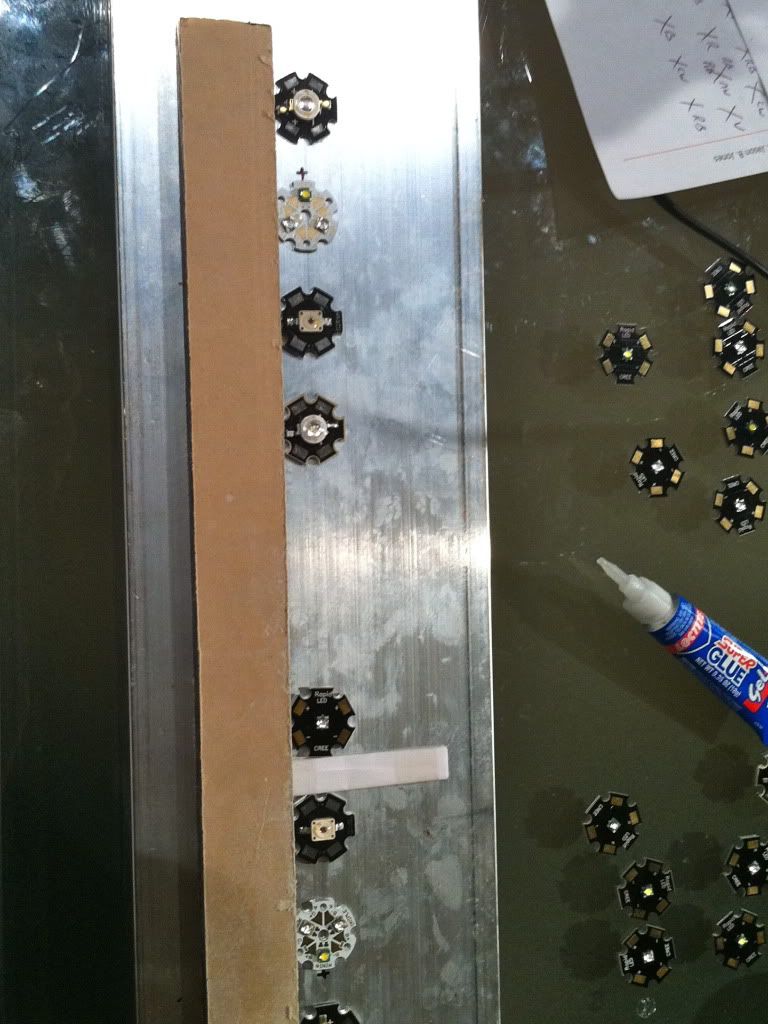
This shows how I placed the LEDs to keep them straight and evenly spaced.
-
Looks like we are going to be doing the build tonight if anyone wants to come by. Just shoot me a PM.
Thanks.
-
This is the plan I usually follow.
Chingchai’s Method for Curing New Live Rock
You need the following equipment:
- suitable size container (plastic garbage cans work well)
- protein skimmer (it will get a major workout)
- powerheads
- good quality salt mix
- a small scrub brush
- ammonia, nitrite, nitrate test kits
The basic method is as follows:
- scrub off any sponges and soft corals that have turned black
- water should have pH at 8.2-8.4 and S.G. at 1.023-1.025
- no lights for 7-10 days to avoid an algae bloom (high nutrients)
- keep water heated (74-80F°)
- do not do any water changes until Ammonia and Nitrites tests both read zero. Then do a 50-75% water change, vacuuming up as much loose sediment as possible.
- provide plenty of water movement within the container (powerheads)
- provide plenty of oxygenation in the water (done by skimmer which will need frequent cleaning)
The curing process will take 2-4 weeks depending on the amount of die-off on your rock and the effectiveness of your protein skimmer.
A simple but very effective treatment for eliminating unwanted critters in your Live Rock is to dip each piece in a bucket of very saline water (SG 1.030) for a few moments. Mantis shrimp will quickly
evacuate the rock. Bristle worms will also crawl out and can be pulled from their holes with a pair of tweezers.
-
If you ever, or anyone else, has this happen again, you can actually DIY a controller for about $20 bucks. Here is a thread I have been saving to build my own wavebox: http://www.reefcentr...hreadid=1411393
-
I think it would be really interesting to compare this to other more standard LED fixtures. Does anyone have an AI Sol or other homebuild using standard colors that we could compare this to during the build. Also, if someone had stellar camera skills that could capture the difference to show those who can't join, that would be wonderful.
-
Bump for lower prices. If you are interested in something, make an offer. Trying to get rid of this stuff.
-
I will take the green slimer, I have been looking for a piece. Also interested in the blue stag if you come up with anymore.
-
It should be pretty simple to make a cone for something that small with a sheet of acrylic. Just build a mold and heat the acrylic. I think I have a thread on making cone skimmers saved somewhere, lets see if I can find it.
Edit: This isn't the one I was looking for, but it should work. http://theprodigalcube.blogspot.com/2009/09/diy-cone-skimmer.html
-
I still remember my first. It was a rock with four purple mushrooms on it. Quite the sexy coral in 1996...
-
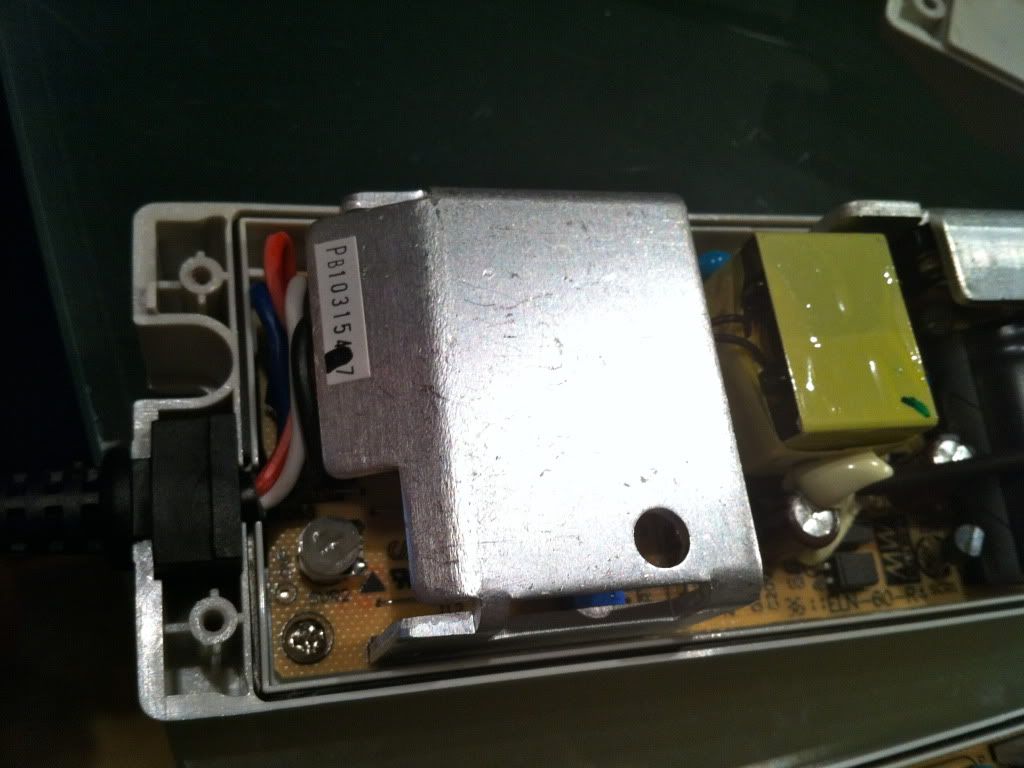
The owner of the lights does not run a controller, so I am just setting it up using the two color dimmable kit from rapidled. Although not as sexy as dimming via a controller, should work just fine.
-
Looks like #14 on here to me: http://tbsaltwater.com/thepackage/organisms.html
-
No kidding. That would make for some good heat transfer....
-
Thanks for the heads up. I usually use just a dap of superglue when testing. Holds them in place and is easy to remove when done testing. Also cleans up pretty easy off the smooth surfaces.
-
Derrick- thanks for the tip. I dug my multimeter out of the shop this weekend so I could tune them in. Nice to know I have a few extra LEDs that can be added if needed.
-
I am rather confused by the setup. When zooming into the pictures, it looks like there might be a drain at the very top of the right section, is that right? Is that the only drain? If so, my guess is that the refugium is fed water from the return, as well as the left side of the sump. The three sections may have been put in place to segregate different types of macroalgae??? Not really sure, this seems like an odd setup.
There are so many baffles in the center section it is tough to get a feel for what is going on.
-
Sundial pending.
-
I can't wait to see how this turns out! I have only neutral whites and royal blues over my tank, the colors of my corals are good, but I do believe that some other colors in the spectrum are missing. I have been curious as to what effect adding other colors of LEDs into the mix will do. I know you're going to group them, but are you still worried about maybe islands of a specific light color throughout the tank since they are so concentrated? I know in my tank it is noticeable on the edge that there aren't any LEDs over that area or if there are what color they are. Really interested, can't wait to see the build!
I worry about the same thing, whether the light will spread out enough. I am going to barely glue the LEDs on first to see how it looks over the tank. I am hoping leaving the lenses off will help the spread. If the ideas dont work, I will spread the LEDs out in a more traditional format. However, radions use this same principle and provide decent coverage from what I have seen and what I have heard from friends running them.
-
Grog, you are correct, 25 LEDs. That was a typo earlier. As far as odd numbers, the heat sink is a blank slate and any number of LEDs can be added to it. This is a heatsink where the LEDs are glued on, not screwed on.
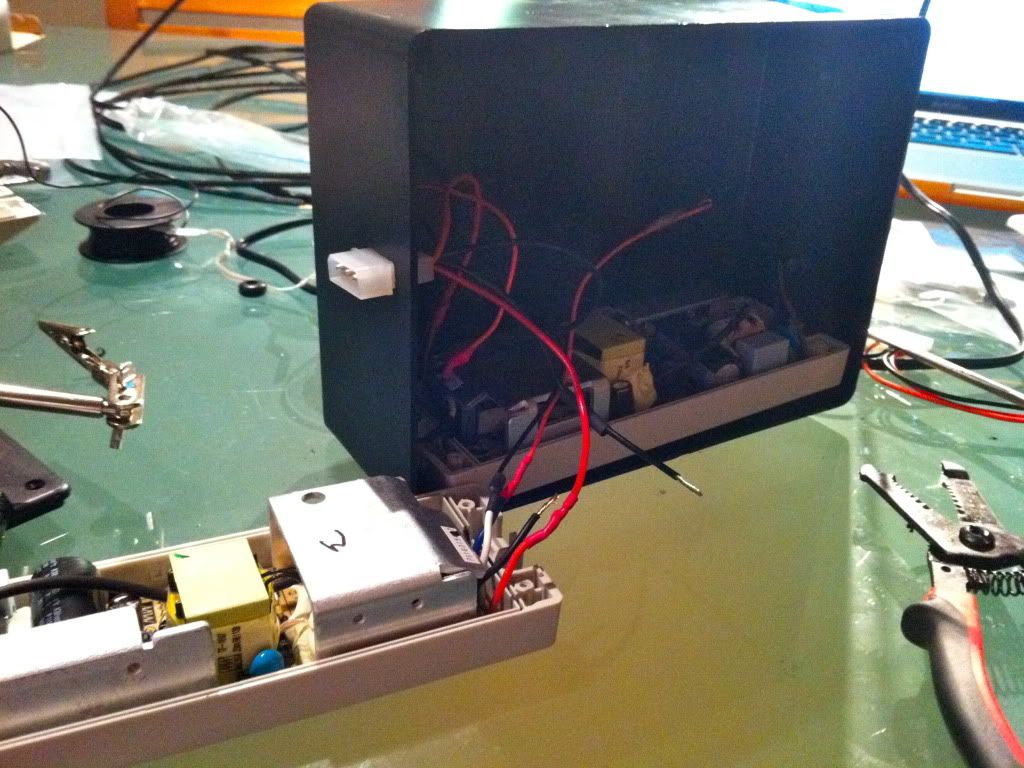
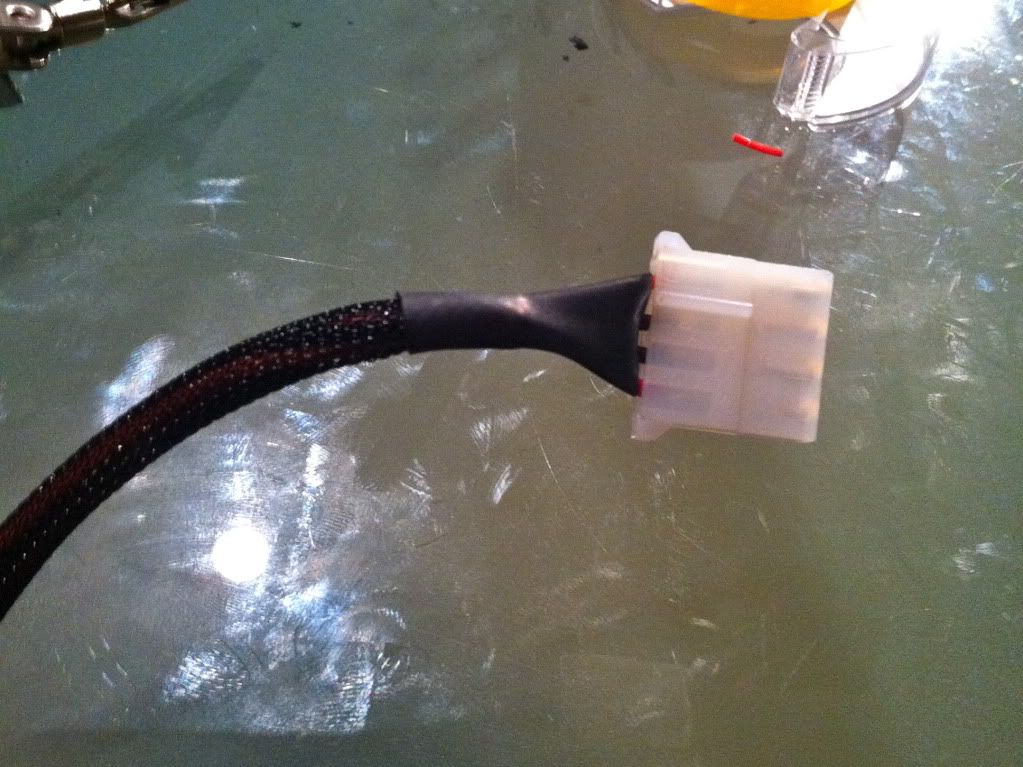
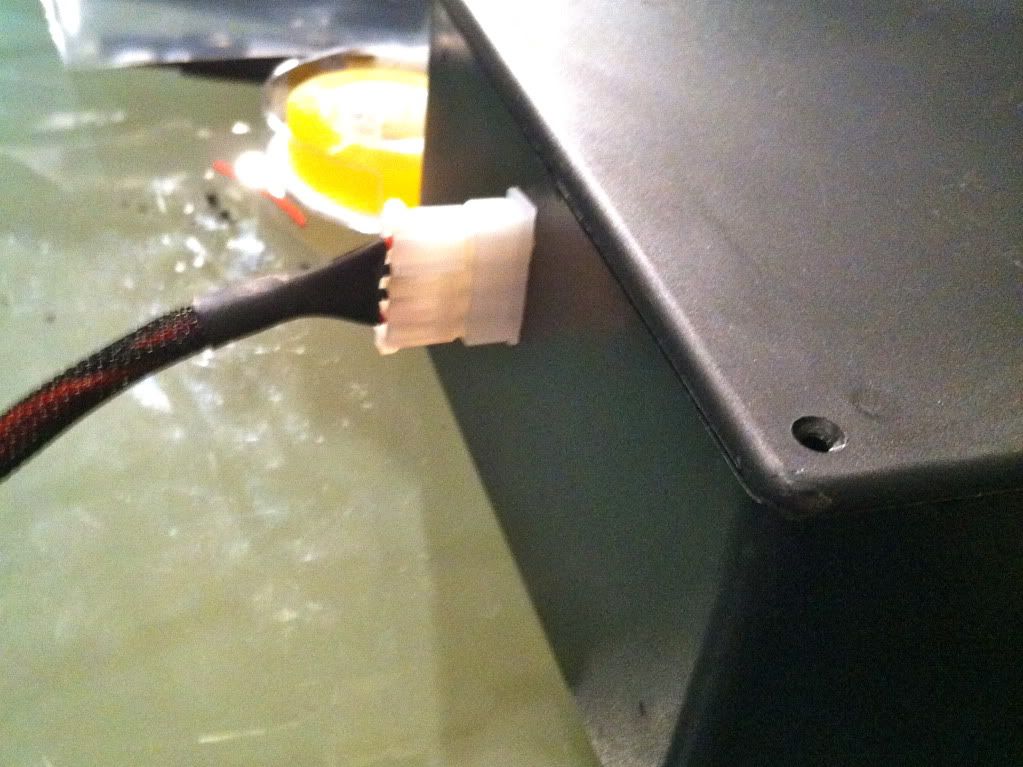
The drivers will use multiple cords. I could wire it up with one, but wiring it up with two allows the colors to be on different timers in case you want to run the blues alone, or the whites.
Lenses actually enhance the disco effect. The problem arises from LEDs being point light sources, like a MH. This is what makes MHs have the nice shimmer. However, when you have numerous point light sources from the multiple LEDs, it becomes shimmer on steriods. Adding lenses narrows the beam of light and makes it even worse. There are people expirementing with light diffusers. If after testing the unit, the par is high enough, I may try expirementing with this as well.
-
You are right, it would be much easier to dial everything in with multiple drivers, but the cost would be prohibitive on a build this small. But I think we will be ok. The whites should blend seemlessly, the RB-T-R mix should blend white when put close together, and the blues should mainly all blend together. In theory, I don't see much of a problem. Time will tell though!
-
I am getting ready to put together an LED build for Theresa's RSM 130D. I have been considering LEDs for my upcoming build for some time, but have been turned off by the light color of most LED systems. I have been following an LED light aesthetics thread on nano-reef for some time waiting on a suitable color mix to be determined. I think the time has finally come. This build will use the latest consensus on LED mixes. Theresa has been lucky/unlucky enough to be the slight guinia pig here (although similar builds have been used over numerous tanks online with success).
Goals:
1) Light color that does not wash out any coral colors
2) Less disco ball effect and color banding
3) Sufficient light for any coral
4) Dimmable
Approach
1) To achieve the color mix, the following mix of LEDs has been chosen
2 Osram Red (660nm)
3 Natural White
3 CoolWhite
2 Violet (420nm)
2 Turquose (495nm)
11 Royal Blue
2 Blue
They will be driven with this configuration by 2 Meanwell ELN-60-48Ds:
Driver 1: 3 NW, 3 CW, 2RB, 2 T, 2 R
Driver 2: 9 CB, 2 B, 2 V
Driver one is the white light. The royal blues, torquose and red mix together to form a white light, while also highlighting different colors than the natural white and cool whites do.
Driver two will be the blue light. A mix of royal blues, blues, and violets (420nm)
Both drivers are manually dimmable.
2) To minimize color banding and disco ball effect, the LEDs will be put close together and in multiple pods. I am not a fan of the builds that have the LEDs equal spaced across the whole tank. While it gives better, more even coverage, the color banding and disco ball (extreme shimmer) really bother me. Putting the light in pods helps eliminate this by having the light colors mix better. This is especially important when using multiple LED colors. I am planning on running this fixture without optics to increase color mixing, at the loss of some par.
I am not sure the exact set up yet, as I am waiting to determine how we will aquascape the tank before deciding on one. These are the two options:
Option 1 (for a tank with the aquascaping evenly spread out in the tank):
Side 1: 1 R, 2NW, 1CW, 1V, 1 T, 6 RB and 1 B
Side 2: 1 R, 1NW, 2CW, 1V, 1 T, 5 RB and 1 B
Option 2 (for a tank with most of the aquascaping in the center):
Left: 1 NW, 1 CW, 3RB
Middle: 2 R, 1NW, 1CW, 2V, 2 T, 5 RB and 2 B
Right:1 NW, 1 CW, 3RB
3) 25 (not 24...) LEDs should be sufficient lighting for most corals in this size tank. The RSM is 23.8" deep, which requires a lot of light to get to the bottom. I am a little bit concerned about this, especially since we will not be running optics, but I think it will be ok. We can raise the sand height a little bit if we determine there is not enough light.
I really hope we can get a PAR meter to check out the tank.
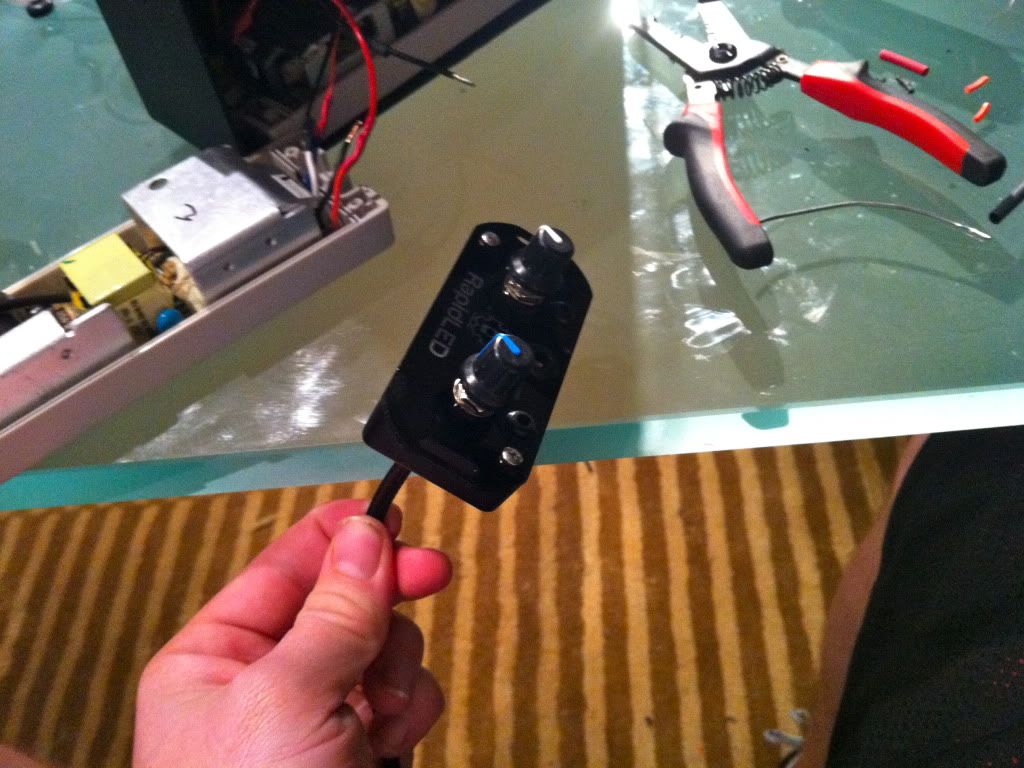
4) Dimming is controlled by a nice two-knob kit supplied by RapidLED. 90% of this build comes from them, with the exception of the turquose LEDs and some 3 up stars, both of which come from ledgroupbuy.com.
I am currently planning on putting this together next wednesday night (Mar. 7th) if anyone is interested in coming over to observe.
-
Last coral I am looking for. Prefer larger piece.
Thanks!
-
Ca test and MJ900 pending
-
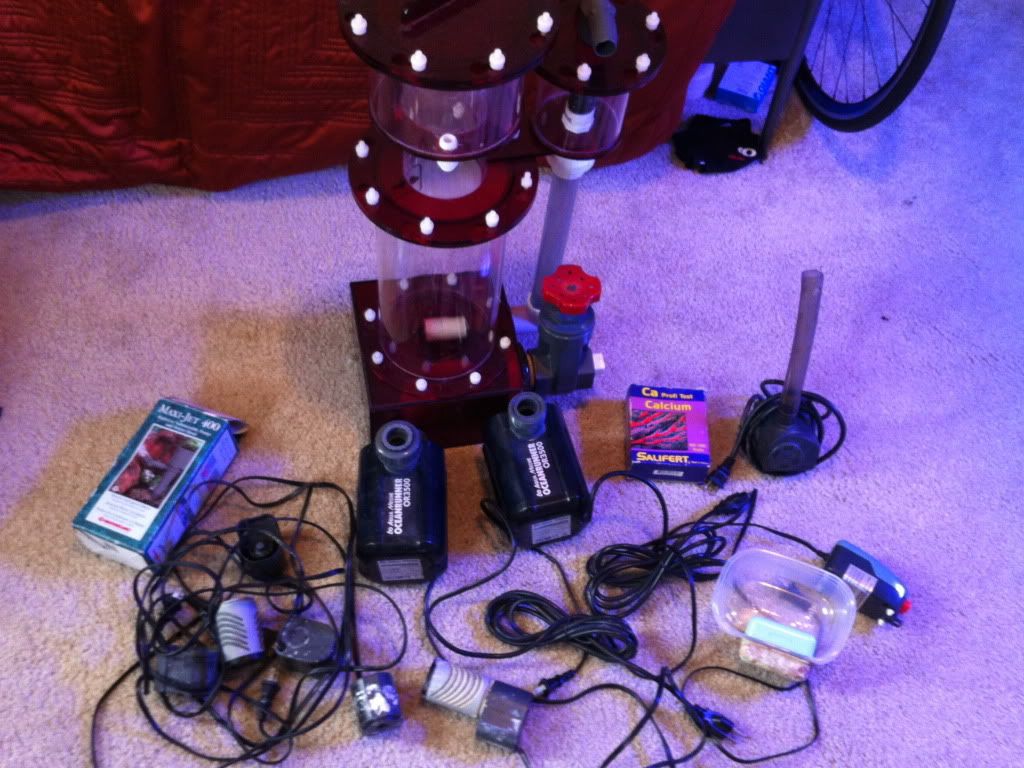
Time to clean out the closet of extra equipment sitting around.
Trigger Systems Skimmer, I think it is a TS 150. It is 26" tall. Great running little skimmer. $100 $90 $75 **Sold
30" Sundail T-5HO fixture. This was the original light I had for my tank and I ran it less than 2 months before I found a deal on a different light. I should have some bulbs to go with it as well. My loss is your gain. $75 **Sold
2 x Ocean Runner 3700 needlewheel pumps. These come standard with metric plumbing. One has been converted to standard US sizes, the other hasn't. Both are brand new and were purchased for a skimmer project I never completed. $60 $50 40 each. These sell new for $150, this is a steal.
Modified MJ 900- $5 (turned into a stream type pump for increased flow. No mounting bracket) **Sold
Quiet One 1200- $10 $5 **Sold
Free:
Salifert Ca test- half left **Sold
4 MJ bodies with some accessories. No impellers or volutes. 3 MJ 400s, 1 MJ 600.
-
Patrick, thank you for sharing the link, good information on fish that control Aptasia. Unfortunately, it seems finding fish interested in majanos is more challenging. But just as there are tanks that are naturally able to control such pests, other tanks are torn completely apart to eradicate them. Chingchai's 1000g tank is a perfect example, and arguably one of the best tanks in the world. Here is a post of him removing every coral in his tank to try and get rid of the majano's: http://reefcentral.c...&postcount=6573
However, I am really interested in hearing the OP's experience. Too often we have threads like this where everyone offers advice, but we don't hear about the end results to help inform our opinions going forward.
Multi-colored LED Build
in Lighting (MH, T5, PC, LED)
Posted
Victoly- Not using any optics to try and help eliminate any banding, so I should have as wide of spread as possible.
Derrick- The red, turquoise, and RB mix are all wired into the white driver. I will try to post up the drawings I did of the LED layout and wire diagrams tonight to make this more clear.
The LEDs are wired in this configuration:
Driver 1: 3 NW, 3 CW, 2RB, 2 T, 2 R
Driver 2: 9 CB, 2 B, 2 V