


JasonJones
-
Posts
340 -
Joined
-
Last visited
Content Type
Profiles
Forums
Store
Gallery
Events
Local Fish Stores
FAQ
Blogs
Downloads
Posts posted by JasonJones
-
-
Kevin,
I echo the sentiments others have expressed. I do not think you should worry too much about spotlighting from a couple of LEDs, especially if you do not run optics (I do not think you will need them with only 18" of depth). Take a gander at the thread I put together if you haven't.
Beyond the light color looking better, there are scientific reasons for using multi-colored LEDs. LED color spectrums are incredibly tight compared to metal halides and T5s. Where a 20,000k metal halide bulb may have the overall color of 20k, it also produces light across a broad range of the spectrum. LEDs do not do this. They have a very narrow spectrum they cover. By using multiple colored LEDs, we can cover a broader spectrum of light. This not only replicates natural conditions, but it also allows various forms of chlorophyll to operate at peak efficiency and to show coral color better by reflecting certain spectra. The chart below shows where on the spectrum primary and secondary photosynthesis occurs with varying chlorophyll. There is a series by Dana Riddle several years ago that goes much more in depth on this. I have been wanting to sit down and write an article synthesizing all this information, but I do not have the time right now.
I have also attached the spectrum plots of a common MH versus some LEDs to show the differences. As you can see from looking at the spectral plots of Cree LEDs (all LEDs have similar narrow bands), it will take mixing multiple colors to come close to replicating the spectral plot of the Radium 20k.
Also, if you have some unfrosted acrylic, it would be interesting to compare the diffuser material I have started using with the frosted acrylic. You are welcome to take as much as you need.


-
Everything is finished up and the light is now installed in the hood of the RSM 130 and put back on the tank. I thought I would share a few thoughts I have looking back over the whole project.
- The color really is outstanding. I was testing the lights a final time over my tank today before installing them. My roommate walked in and commented that it is hard to tell the difference between the ATI t5s I am running and this fixture.
- I would add a couple more red LEDs if I were to do it again. I have one more on order to add to the fixture. I only notice the diminished reds when looking at my red planet. My red LPS's still look good.
- The diffusion material really makes a huge difference. The fixture now has the nice mellow shimmer of a halide fixture. Happy with how that part came out.
- I would like to experiment with using more violet LEDs. I have seen some fixtures online using equal numbers of royal blues and violets.
- The LEDs are incredibly powerful. I had them mounted 12" above my tank and running at 70% for three days. One chalice started bleaching that has been about 5" below my Aquatinics TX5 for extended periods with no problems.
This has convinced me to use LEDs on my upcoming build. It may be a mix of T5s and LEDs, not sure yet. But the main point is, this has convinced me the technology and aesthetics of LEDs has finally arrived.
-
One of my favorite bikes, makes me miss riding. Although I would be very scared to buy any bike that has a gender eliminator.
-
 1
1
-
-
Kim, best of luck with the change. Looking forward to seeing the direction you tank. Feel free to reach out if you have any questions.
-
Having seen Richard's tank and using a couple of pieces myself, I think Reel Reef rock is the way to go. It is the most natural looking man made rock I have seen and it is already nice and purple. I would not go any other way.
-
Well, after holding the skimmer for three weeks for someone, they decided to back out. Skimmer no longer pending.
-
Thanks for all the support guys. Grim, I will get in touch with you after I am certain the tank has stabilized. I really appreciate it.
It was something I never really thought would happen and wanted to pass along the info to help others avoid. It is so easy to avoid, but similarly easy to overlook.
-
Wednesday I suffered one of those unfortunate set backs we have sometimes and learned a good lesson from it.
I use my controller to control everything, especially the heater. The controller has an overheat function that will turn off the heater if the tank ever gets above 83, as well as the lights and some pumps. Because I want the controller to control the heater, and not the heaters dial, I turned the dial all the way up. I have run all of my tanks like this for years and never had a problem. However, I now advise to never turn your heater dial above a certain point, I have selected 83.
I spilled some water on my controller a week ago and once everything was dried, it has been working fine, but sometimes freezing. It has never been a big deal and I just unplug it and plug it back in. There was an upgrade out for the reef angel that provides all new hardware, so I just ordered that and ran it in the meantime. Well, the other day the controller froze while I was at school. I guess the heater was on when the controller froze, so the heater was left on and the safety cutoff at 83 did not happen because the controller was frozen. I came home to a tank that was 91.6 degrees.
All the fish were swimming around. I put ice water in bags and floated them in the tank and brought the temperature back down over the next hour. I lost my prized Hawkins Echinita, a bicolor frogspawn I recently got from Grim that I loved, three acans and a blasto colony. While the losses are devastating, I was lucky I was not gone and that it was not the whole tank.
Long story short, never really solely on one piece of equipment and never turn your heater dial up all the way, even when it is controlled by something else.
-
Panty hose makes great filter bags to hold carbon or gfo.
-
Most people use Caribsea Special Grade Reef sand or Tropic Eden Reef Flakes. They are roughly the same size and look similar, but Tropic Eden is much cleaner and requires less washing before use. Both have a grain size around 1mm.
Not sure where you can get them locally. I have 20lbs or so of the Caribsea sitting in my closet you can have if you decide to go that route.
-
Ouch... $200?
I thought we were reefing on a budget here with the DIY.
Here is my ghetto cannon - 50W Total - 3 x10W 20k White, and 1 x20w Acitnic Blue, Pieced together with a driver on an old CPU heatsink.
My cost about $60 with the parts I had laying around, probably $90 if you bought a new fan/heatsink combo.
http://imageshack.us...51/img9389y.jpg
http://img40.imagesh...71/img9390w.jpg
I'll be bringing it to the meeting as well.
What LEDs are those? Also what driver? Any dimming capabilities?
-
I'll give it a shot! Let me know what you want for it.
You are welcome to come try some. I have more than I could ever use.
I put some on my wife's tank today. The LED fixture on her tank is only NW, RB and Bs. I think in a 4:7:1 ratio.
Before:
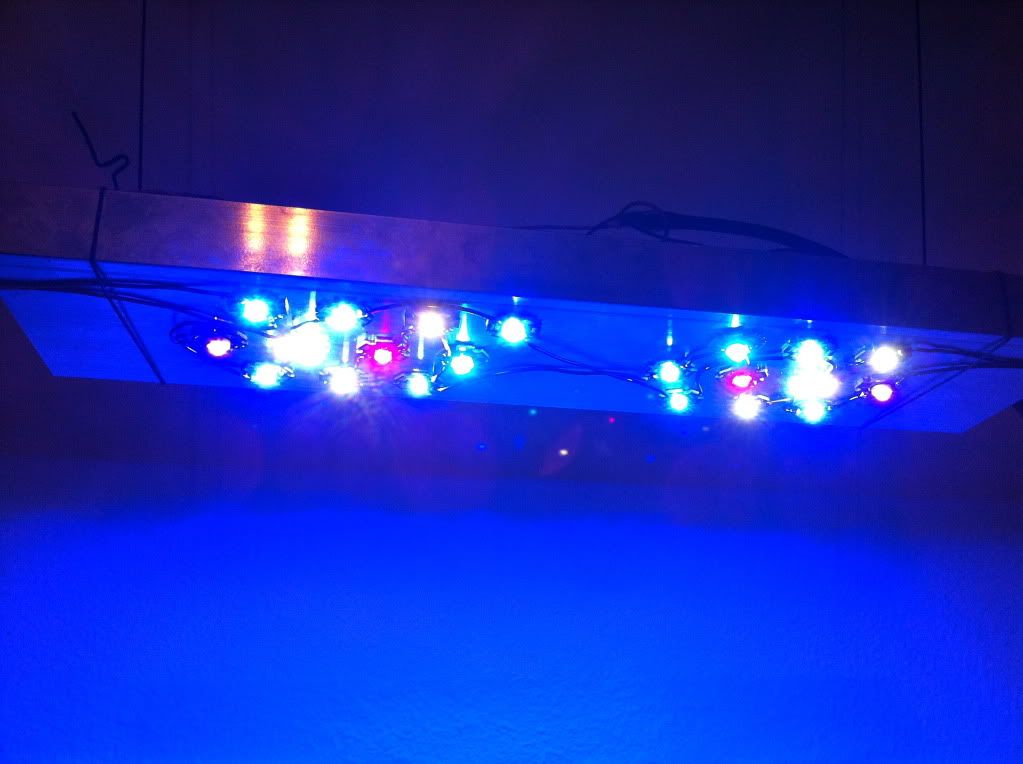
Here is what the fixture looks like with the diffusion material applied:
The shimmer now is nice and looks more like a halide. I am really pleased. After:
Dave had a chance to check out the multi-color LED fixture on Friday. Hopefully soon he can share his impressions so you have info from a neutral observer.
If someone can tell me how to embed the youtube vides, I will do that. (Figured it out)
-
Skimmer is pending. So just the quiet one and the ocean runners. Also you are welcome to any MJ bodies.
-
Bump for new prices. Lets move this stuff out.
-
He says it is full spectrum, you can see multiple colors on his thread. It can be found here: http://www.nano-reef.com/forums/index.php?showtopic=296282&st=0
-
Here are multiple threads where people have used it successfully on SPS, the first being the most extensive. I have read about people using it on LPS as well. Not sure about softies.
http://reefcentral.c...advanced+insect
http://www.manhattan...efw-killer.html
-
I just found diffusion material that is very cheap and extremely effective. It has been tested and shows an average of only 5% light loss. Costs $15 shipped for a roll that is 17 3/4"wide x 6'5" Long. I have one on order and am willing to share with anyone who wants to try it out.
Here are the before and after videos someone posted. Watch in 1080p.
Before:
After:
Here are the figures he tested.
w/o Film (x10^3):
1=445
2=480
3=506
4=462
5=466
6=432
7=451
8=446
9=437
10=458
11=464
w/film (x10^3)
1=425 (-4.5%)
2=465 (-3.1%)
3=496 (-2%)
4=446 (-3.5%)
5=443 (-5%)
6=414 (-4.2%)
7=416 (-7.8%)
8=411 (-7.8%)
9=413 (-5.3%)
10=430 (-6.1%)
11= 432 (-6.8%)
Total Avg light loss=about 5%
-
Tweaking smaller colors would be interesting. But I think the cost to advantage ratio would be pretty low on a build this size. Perhaps if I was doing a 100+ LED build. Also, I would be afraid I would sit and play with the adjustments constantly.
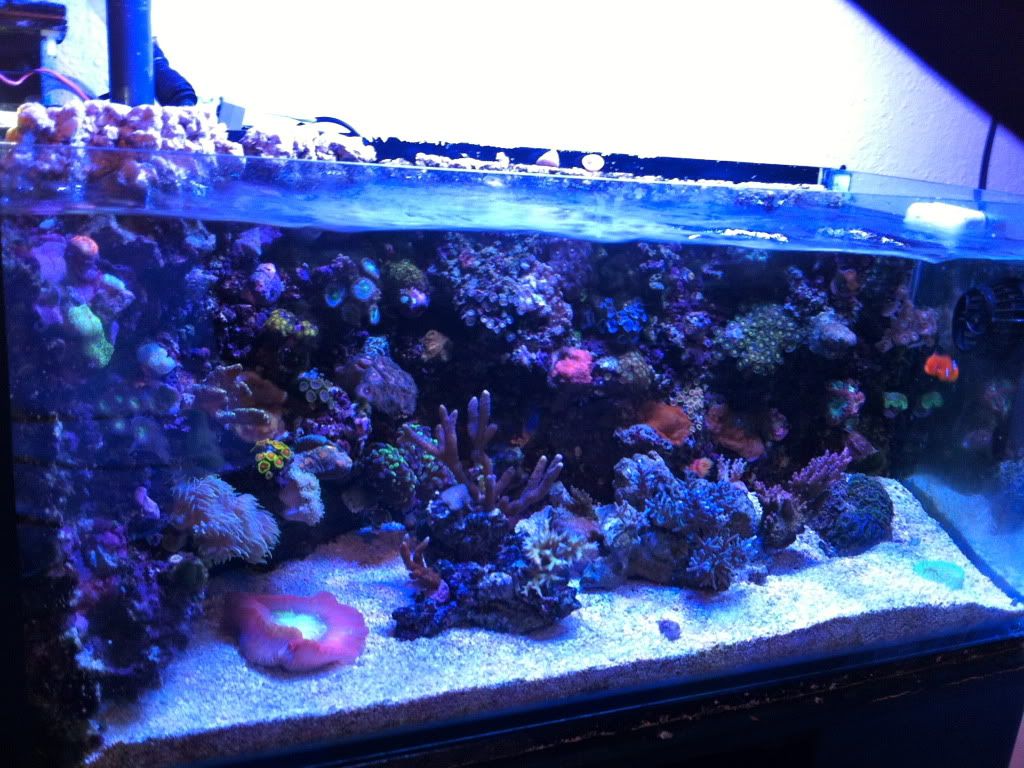
I wish I had a better camera to take photos with, but you are stuck with Iphone pictures for the moment. On the tank shot, you can get a decent idea of coral color under the lghts, which was the point of posting it. Taking pictures with the iphone is always a challenge, but taking LED lit pics with an iphone is absurdly hard.
-
Thought I would stream of conscious some of the things I learned through this build for others going forward.
- The superglue "tack weld" method worked really well. It took less than a second to pop them off later and reglueing using the proper 2 part thermal adhesive was a piece of cake.
- When using thermal adhesive, mix it and let it sit for a minute or two before using. Holds the LED in place much better. You have about 4 or 5 minutes working time when mixed
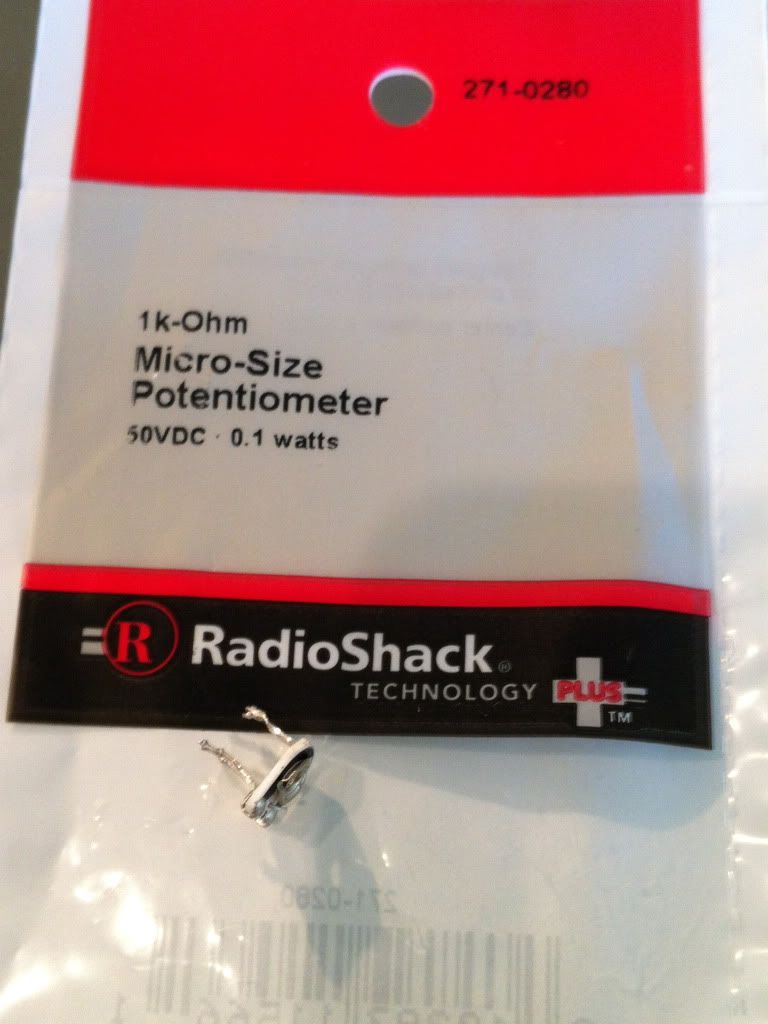
- Be extremely careful when adjusting the internal pot on the meanwells. I knew that and stripped the first one anyway--Treat it like a small piece of glass. The good news is, if you strip it, you can pick up a new pot at radio shack for a $1.67. Very easy to desolder and resolder.
- RapidLED has amazing service. Glad they are a sponsor. They helped me figure out what to replace the stripped pot with and are sending me a new faceplate to the dimming kit (stepped on it)
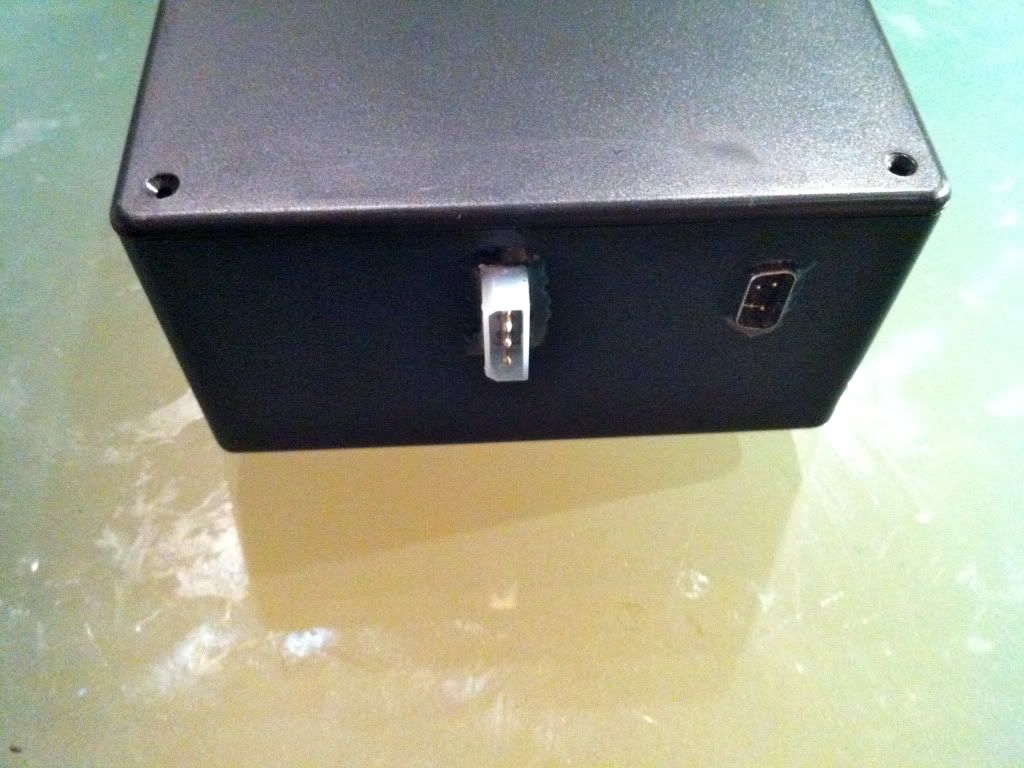
- If you are using a project box to hold the drivers and such, and you are going to use multiple connectors for the dimming and LED power wires, make sure the connectors you use are different so you don't inadvertently plug one into the wrong connector.
- Soldering the UV or Violet (different places use different names- 420nm), the pads stink and are really hard to get to accept solder.
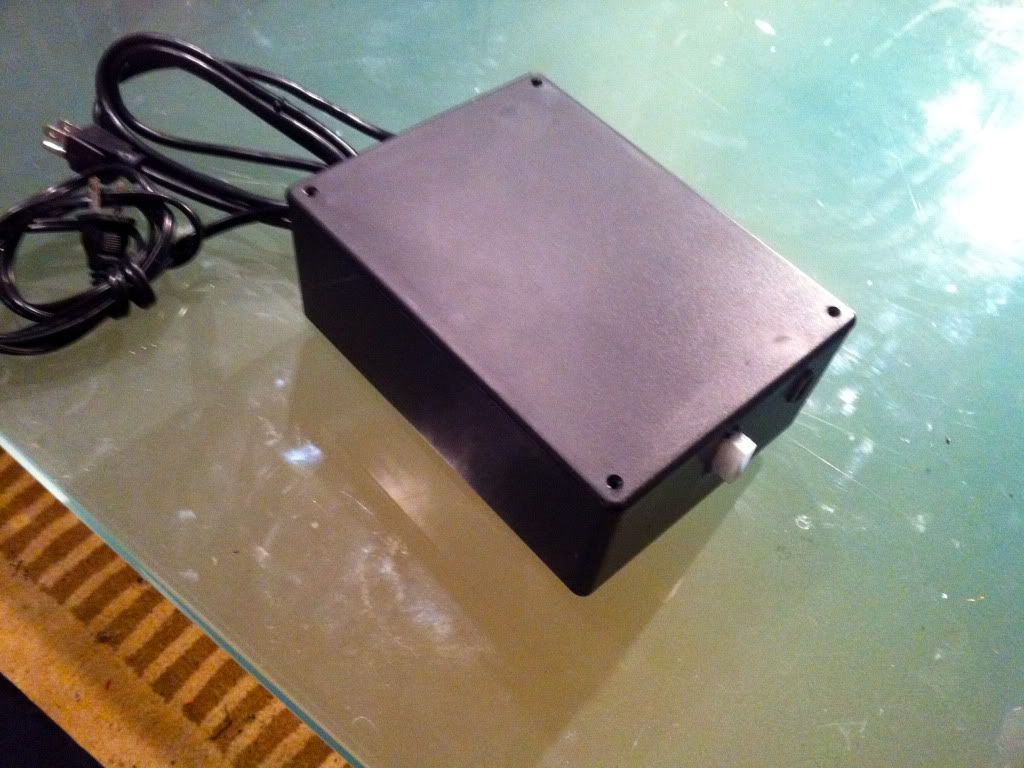
- If you use a project box, you will have to cut off the pigtails coming out of the meanwell drivers to make them fit in the box. Just solder wires to the driver wires and it makes it more flexible so everything fits in the box.
- DO NOT TAPE ANY CONNECTION, SOLDER IT. This ensure the connection never comes apart. I also used 3:1 shrink tube from Partsexpress, much better than the 2:1 you can buy at Radio Shack. I also bought black expandable wire cover from there that really cleans everything up.
-25 LEDs running at 550-600ma barely warms a 4.25 x 16" heatsink without a fan in open air.
- Finally, having more time to sit back and watch the light, the more impressed I become. I would put the color up against anything else I have seen. I would love to put a radion next to it to compare.
Here are a couple other random pictures.
internal pot replacement
My tank with the LEDs running
-
As I've been doing a bit more reading, have you considered using a diffuser for the whole fixture? You'd lose some PAR, but that's not usually an issue with LEDs. I'm considering adding in a few "warmer" colors to my fixture, as it is aesthetically pleasing, but i feel like it is lacking in the red department.
Yeah I have considered it, I think I have talked about it somewhere in here. It would be interesting to play with some. Dave Fason on Nano-reef has found some sort of glass diffuser that seems to be the superior product, but he says it is very expensive and is keeping it to himself for his small LED company. It would be nice to find out what it is. I would really like to have access to a par meter before I play with diffusers too much. Especially because the tank this is going on is 24"
-
Have you tried experimenting with dimming the different color LEDs and seeing how it affects the color? I know making small adjustments with my dimmers makes a whole new color temperature in the tank
I did play with it, much more than I expected. I spent about 15 minutes finding the color most comparable to my current set up so I could try to make the color as close as possible between the two to give a fair comparison.
It is pretty fun playing with the dimming function, but I also find it almost frustrating because certain corals look better at different settings and it is hard to find the color that brings the best average of colors.
Zilkerfish- Thanks. It has been a fun project so far.
-
So I have the light mounted above my tank now and have several observations. The lights are currently mounted about 12" above the tank. This is to simulate the 24" depth of the tank they are going on and because that is as far as my adjustable hangers will go with the way they are holding the light.
I am pretty impressed with the color. I prefer the color I get from 3 ATI Blue +, an ATI Purple Plus and an ATI Aquable special. With that said, the color is 95% as nice. The only place I really notice a difference is my red planet and taste the rainbow acan. They don't quite have the red they have under the T5s. Everything else looks as good as under the T5s, or close enough that it isn't noticeable. I think the color is much better than a 2 color LED build.
The color banding is really not bad at all. I did not notice it at all in the tank when it was running. I also tried waving my hand in front of the light at various angles to see the effects, nothing. I was happily surprised by this.
The disco ball effect on the sand still bothers me. I don't think it is any worse than normal LEDs, but I dislike that about LEDs. I do not notice any color banding in the sand. It is not enough to really drive me crazy, but it bothers me. I look forward to running the light for a couple of days to see if it grows on me.
Overall, I am pretty impressed so far. Certainly making me consider LEDs more seriously for my next build. I am going to continue playing with it tomorrow and mount the LEDs the correct way. I also want to see how it looks closer to the water surface to see if it changes anything.
I will post up more details of the system and the more finished product tomorrow.
-
The LEDs on the radions are extremely close together, that is my guess. I really don't know how the color banding on here will be. The little test I did last night did not mimic real conditions, so I am holding off any judgments until I throw the lights over a tank.
-
Holy pods batman.


Oh really...
in Reef Keeping
Posted
That is my wife. The most rare and exotic challice/sps/insert your flavor will never compare to GSP for her. She also thinks damsels are the cutest fish.