


lemonyx
-
Posts
48 -
Joined
-
Last visited
Content Type
Profiles
Forums
Store
Gallery
Events
Local Fish Stores
FAQ
Blogs
Downloads
Posts posted by lemonyx
-
-
Great idea on the cooling - no added heat transfer to the tank.
31"wide x 23 1/2" deep x 19" tall
I'm guessing that 31" Long x 231/2" Wide x 19" High
 not to nit-pick but in the trade the dimensions are given this way. 2 filter socks, the skimmer will have to be external then, fuge with frag area, will you have a controller? You will need prob holders, do you use all 3, temp and PH, ORP? What area will your ATO go into? You'll probably have a calcium reactor, want a effluent cup or drain into the skimmer area for the skimmer to blow off the CO2? Return will be external? What height did you want your first baffle?
The reason I ask is I can add these to the sump - been thinking about the layout of my sump and all the extra stuff that I'll need.

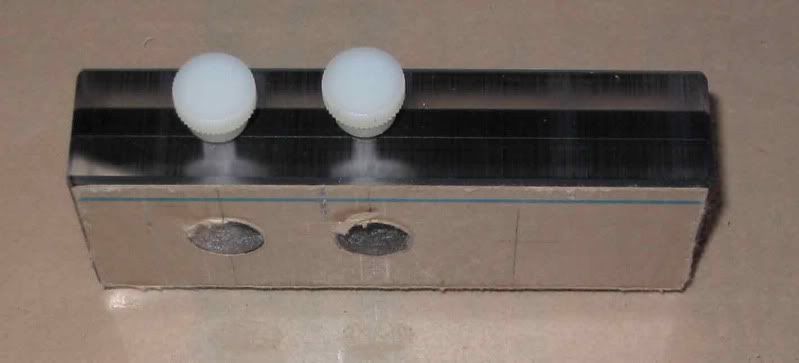
The far left is the ATO float switch, adjustable for water level
The one up front is for the dosing lines - will get rid of my diy calcium rector for this
The one above that is for the probes from the controller, Ph Temp, ORP
To the right of that is for the line from the ATO and I added another hole for the calcium rector but since I don't need it it'll be just empty.
Not to steel your build thread - but you get the idea.
-
Saw your msg and found this thread. All I can say is W O W.
:thumbsup:Sent you an email about the sump. Are you sure you're gonna to have enough room with the sump and all that equipment from your garage

What kind of lighting will you be running? I noticed "Water Cooled Lighting" what's that?
and I'm watching this build, makes my 200gal look like a 10gal guppy tank.
I've heard this many times - "It's always bigger in TX"
 now it's true
 -
The first end piece is on, the baffles
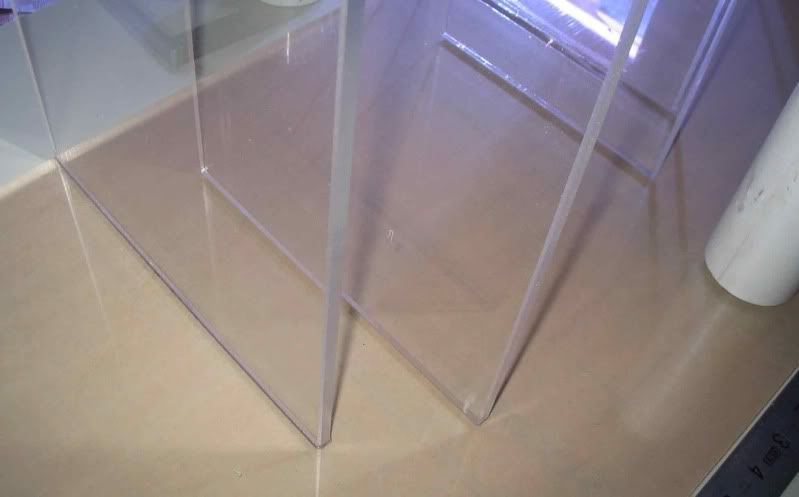
now the other end piece
The needles are only used for the "outside" or parameter of the tank or sump in this case.
Now what I have is a "U"(end pieces)with finger in between (baffles). Now is the time to ready the other "side" of the tank/sump.
The paper is removed and it's slid under, then the finished part is turned over and aligned onto the bottom piece. (I hope that is clear, as mud probably)
The first assembly with the end's and baffles are just turned upside down on to the next piece, lined up and "glued" on.
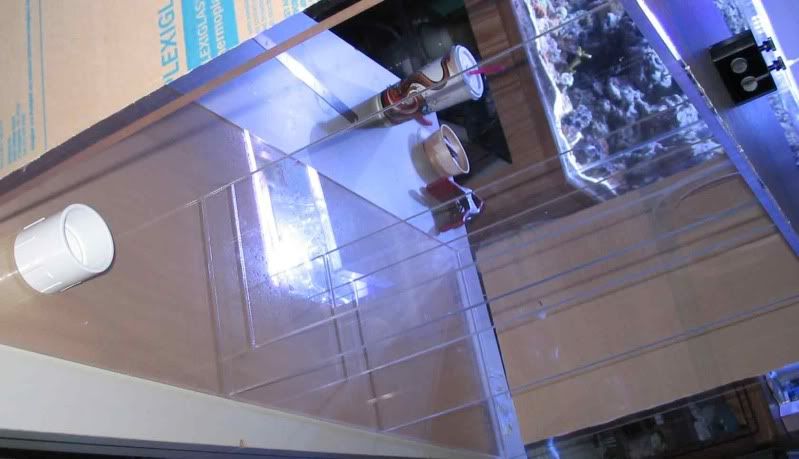
now the needles and shims are used to line up the "joints for gluing.
Now the "bottom of the sump.
So the finished "carcass" has a front, back and the baffles, just needs the bottom and then the top.
Bottom first
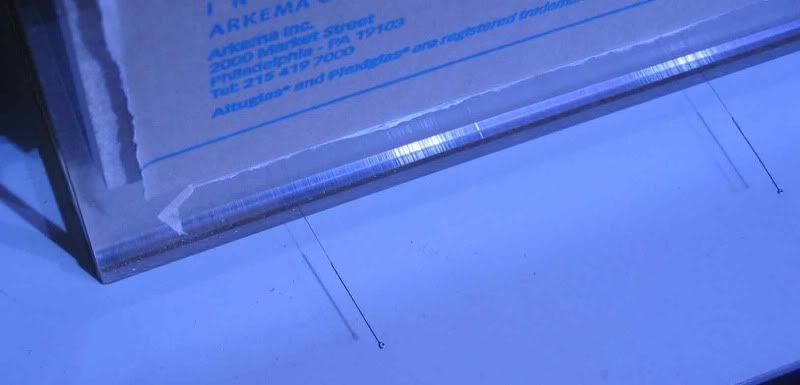


I use a needle every 6" and a shim if needed - all around the parameter of the sump. This take a little time and can mean bubbles or a nice clear seam.
When you are ready, apply the glue on one side, go back and pull the needles and push the shim in a little, you can see the solvent being squeezed out
so you have to stop or you'll get a "dry joint"
Repeat for the next 3 sides, add a little weight on top and let it dry
The top is next - has to be routed and have not decided on the shape of the opening as yet.

-
looking good!
Thanks
-
I believe he is using the razors as 'pins' in place of acupuncture needles. It is a fine line between having to much and to little space between the sheets of acrylic when bonding. If it is to tight the WeldOn won't flow correctly and bubbles will form. If it is to loose then the WeldOn will run out.
The basic idea behind this type of construction is called capillary bonding (or gluing). The surface tension of the WeldOn will pull it into the space between sheets. The solvent melts both sides of the acrylic and when the alcohol in the solvent dries the acrylic solidifies into one solid piece.
Since both pieces are being melted it is actually welding, just like with metal, except chemicals do the work instead of heat.
No, the shims are used in conjunction with the needles, what you're trying to do is to make a space the same all around for capillary migration or the solvent wicking as you feed it keeping it in front of you as you move the applicator bottle. Then after you finish applying the solvent, then you hurry back and pull all the needles then push the shims a little tighter so the bottom and the side meet up. If you used too much solvent, you'll get a "blob" line that looks like bubbles but is on the inside and not on the seam.
hth
-
I don't know about pro, but that is pretty close to how I do it.
I like your 90 degree jigs. They make assembly much easier.
Try flame polishing the edges when you get a chance. Practice on some scrap first. I use a MAPP gas torch to flame polish. It only works on the edges and will just burn a flat surface. Getting the speed right is the tricky part. You want to linger long enough for the acrylic to melt slightly and stop before it starts to burn. Just make one consistent speed pass along the edge and watch the magic! Those chamfered edges will shine like glass.
Oh, never flame polish an edge before gluing. It changes the molecular structure and will cause crazing when glued.
I never "flame polish" tanks or sumps, to get that polished look you gotta use elbow grease and very fine wet and dry, up to 2500 grit. Cause crazing and it you use a cleaner with ammonia it'll crack
-
Can you explain the shims part...what are you shimming up? Is that to hold the baffles in a certain location or ? Or am I missing the point entirely, and these go around the outside of the 2 pieces that are being welded?
The needles are there to provide a little space, if it's too loose (think feeler gauge) then the shims are to make that space tighter. I was using the shims on the end piece to start.
-
Looks great....I need a sump. You want to build me one?

Sure, but I'm currently in the NW but I do come down to Burton for Thanksgiving for several weeks. Might be too long for you to wait.
-
More sump
Spacing out the baffles and making sure they are perpendicular to the bottom. I'm using a 2" pvc pipe which comes out to 2 3/8" spacing between baffles.
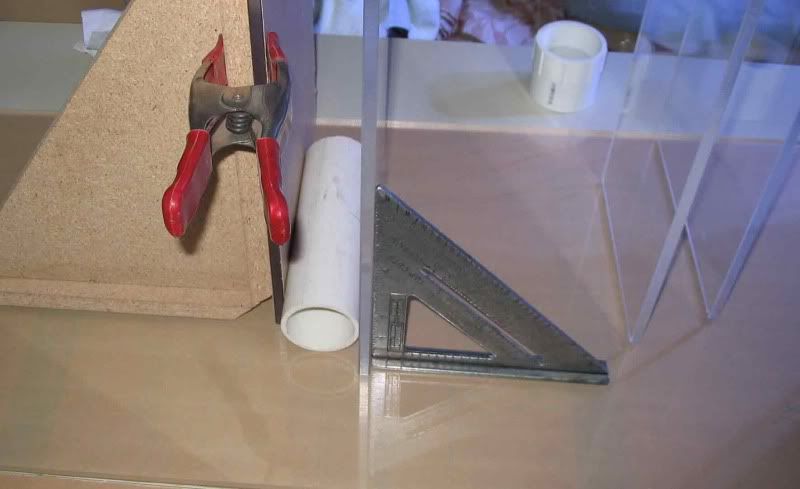
All 4 baffles in place, decided not to split the fuge area and will it will be just the baffles.
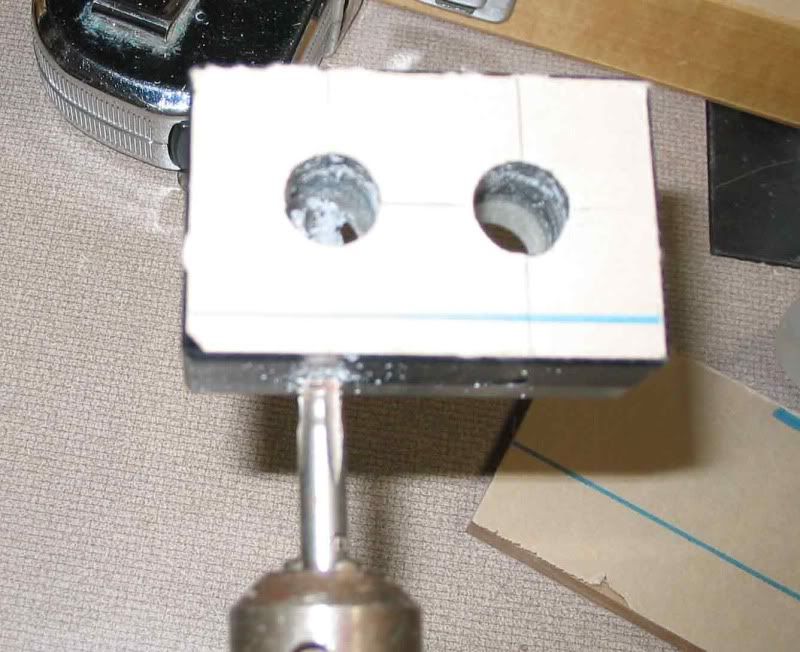
Before I go any further, I just remembered that I need probe holders so went looking thru my scrap pile and this is what the out come is.
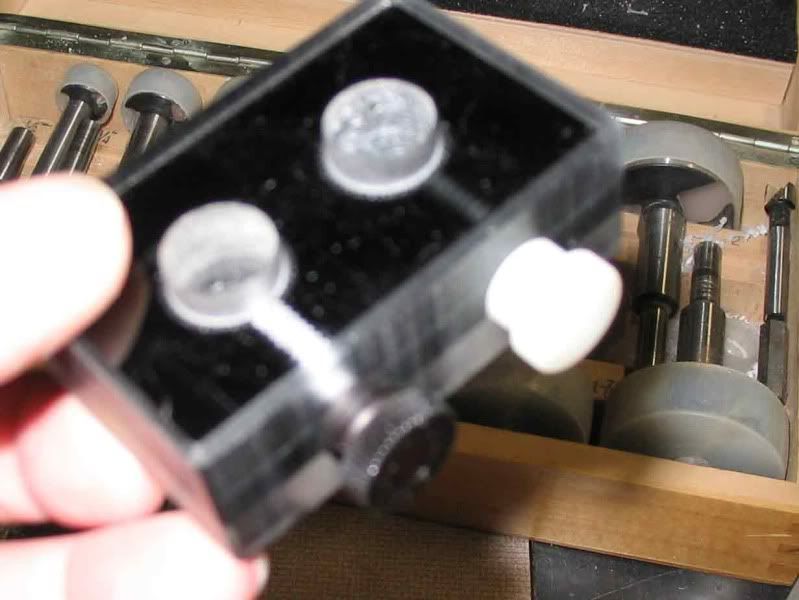
Hummm black or white thumb screws? I used the black ones.
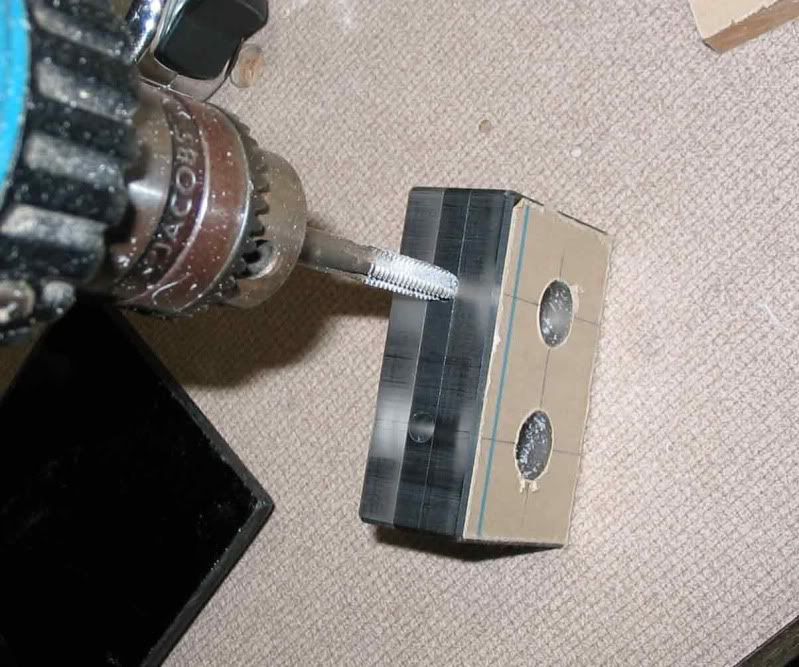
I like to use my "head" to work smarter and not harder (lazyness) but I use the electric drill/driver to tap all of my holes and have had no problems. There will be some who have not done this or think that they "know it all" and will chime in and say it'll break, won't work ect ect ... If you use the right drill size for the tap, it'll work.
Ok enough of that.
So I made two of them, the shorter one is the prob holder for my AquaController, just checking Temp and PH for now. The longer one is for the ATO and will need to make another probe holder as the blank end will hold the float switch for the ATO and instead of a Calcium Reactor I will be using the "Balling" method kind of, and will be dosing Cal, Alk, MAG and whatever else the tank needs so will need another "long" probe holder for three set's of lines.
The first half of the sump is done, now just need to turn it over and start the other side.
(I forgot to mention that the tops of the baffles the corners have been routed or chamfered to take the sharp corner off. If this is not done, it won't feel good. Plus it dresses it up showing the time put into the project)
So the order in which to assemble a tank, sump or whatever is about the same. Start on one side, stand all your vertical pieces and "glue" (actually it a solvent so it softens the plastic then bonds) of if you have any dividers then that would go first, (horizontal piece that spans between the verticals) then starting on one "end" start gluing them down, making sure you have a right angle jig to keep it nice and straight and some type of spacer for your baffle spacing. (is that clear - I think I just babbled)
more to come
-
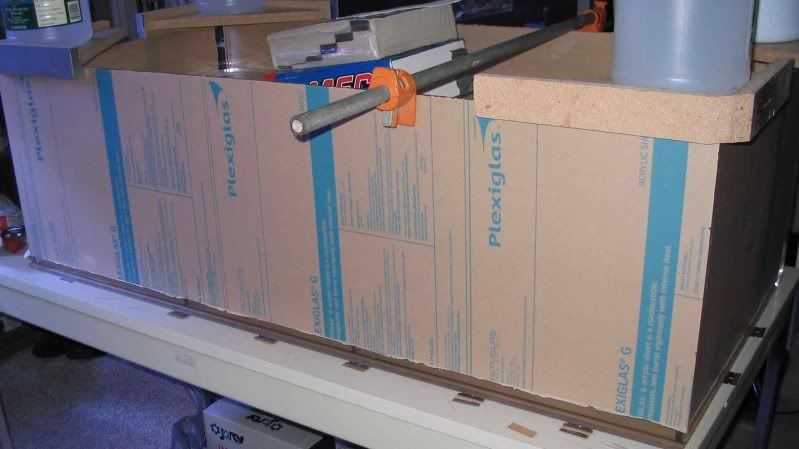
Start the build:
Starting on one end of the sump
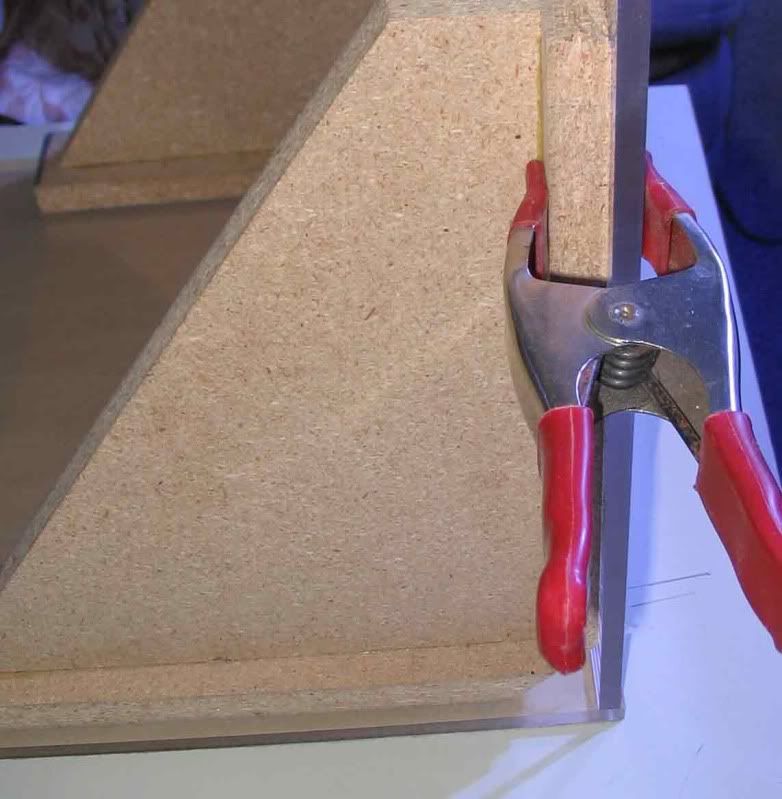
I use these 45's to hold the acrylic at a 90' and have about 6 of these made up and sometimes have to use all six of them. (forgot to take pix of that :roll_eyes:)
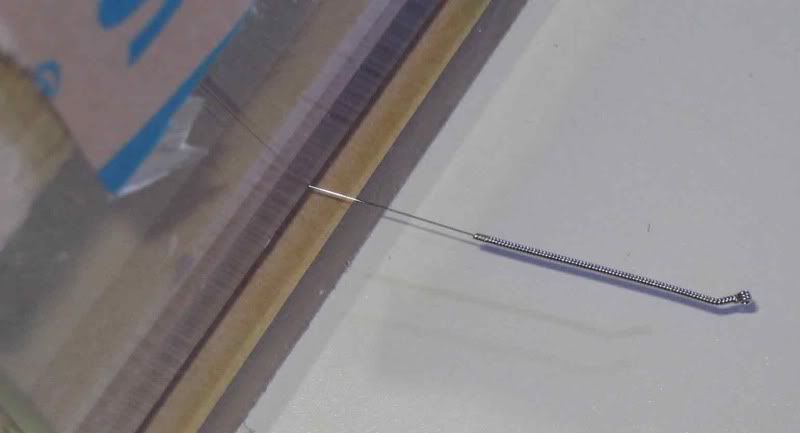
The pins method of assembling acrylic. These are acupuncture needles that I use and are about the right size. I use to use those tie wraps from the produce section but they were too thick (big around)
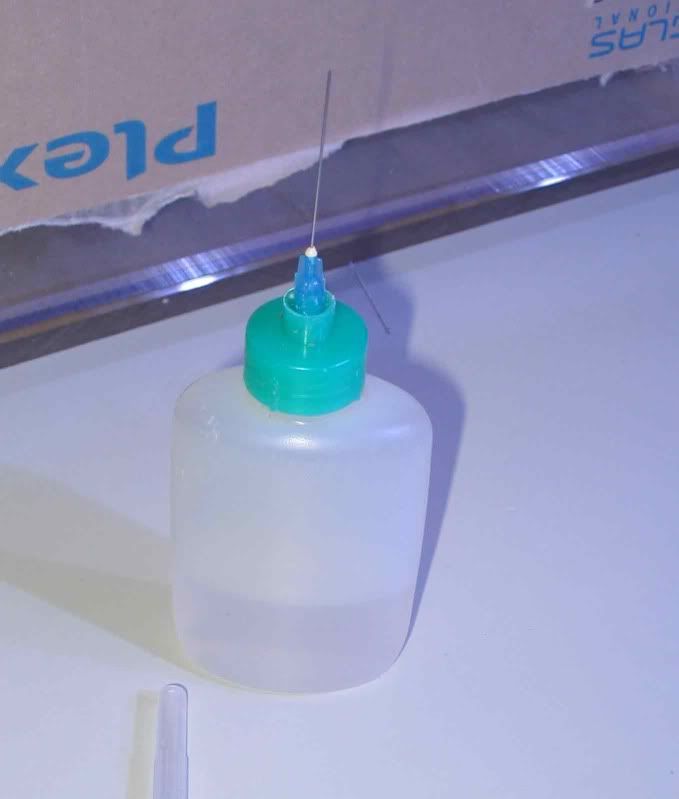
The magic juice - combination of Weldon #4 and *%$@#&*^.
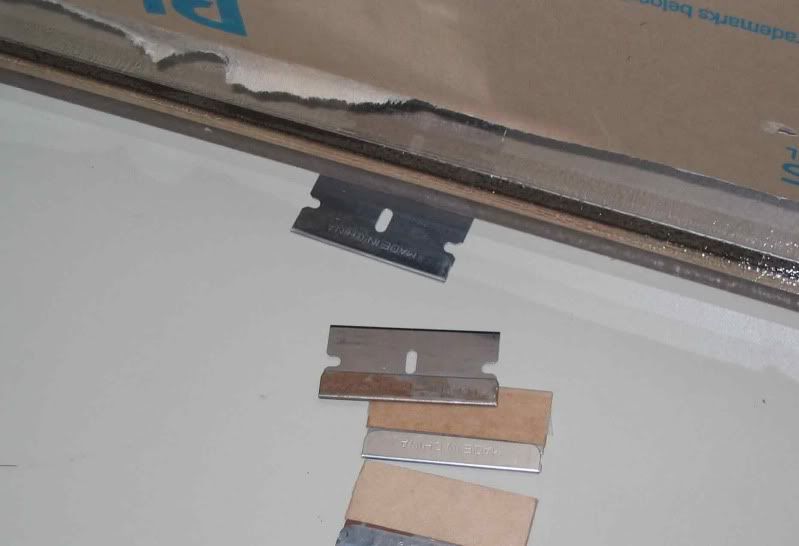
Shims, these single edged razors work the best for slipping under the acrylic, thin enough but you can stack them when you need them. You need some type of shim to keep the acrylic edges together for no bubble seams (as well as the routed edge)
more to come
-
I'm starting my 200gal build and starting with the sump first. I will show you how I do it and most of the tank builders do it.
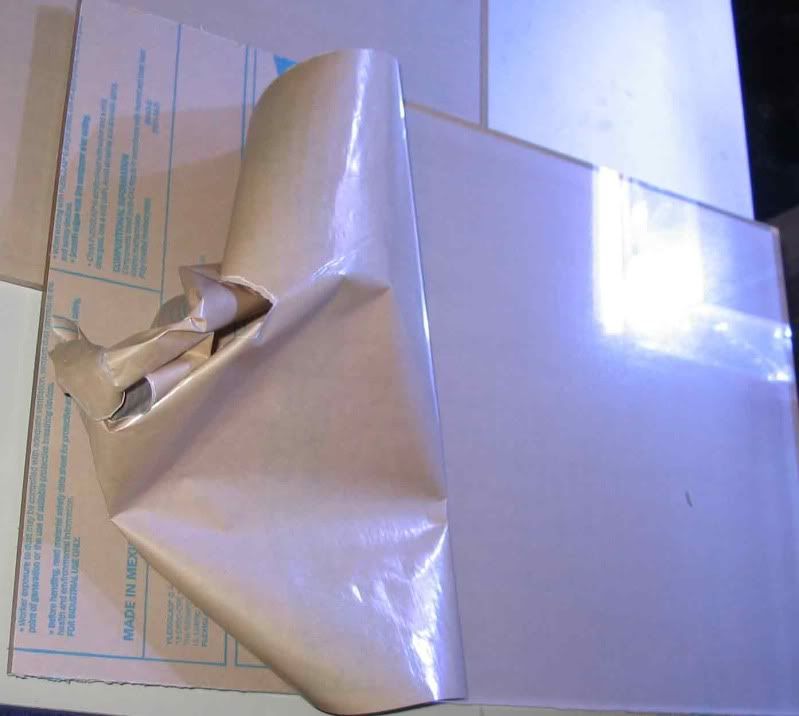
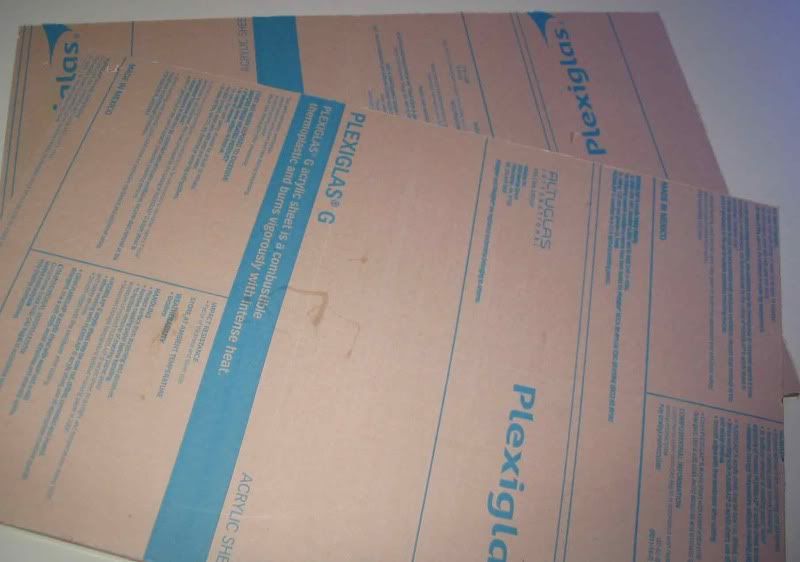
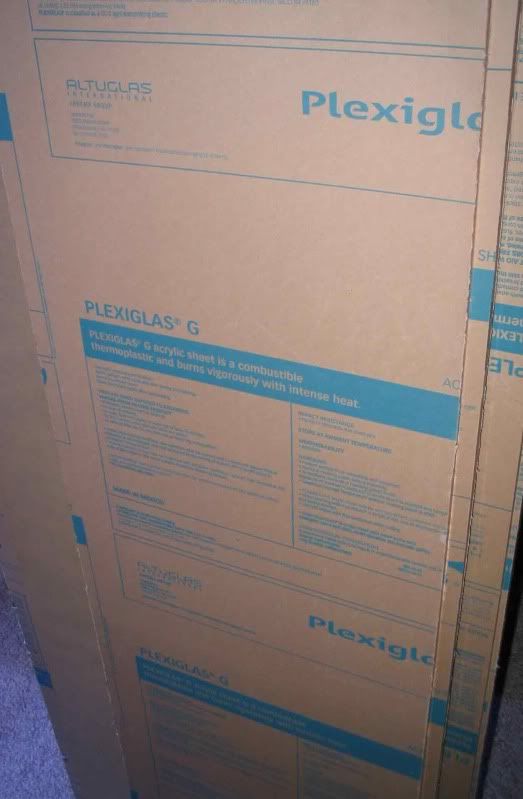
The sump is about a 79gal measures 49 3/4"L x 24"W x 16"H. I used oversize sheet of 3/8" Plex "G" which is 50"x99", great for those who have to have a 24" deep tank (inside dimensions)
On with the build.
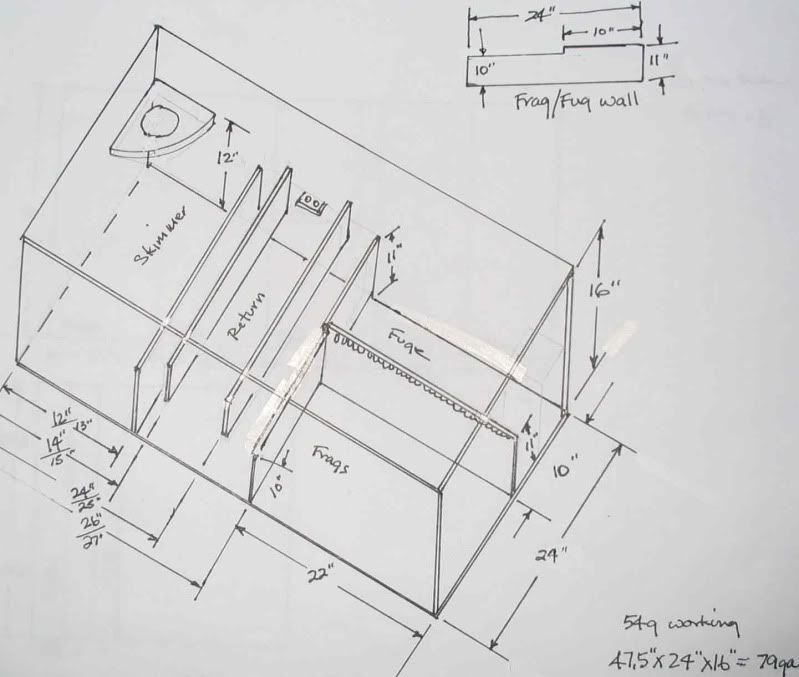
The plans, gotta have a map of what you want, where it's gonna go and if it'll fit or not.
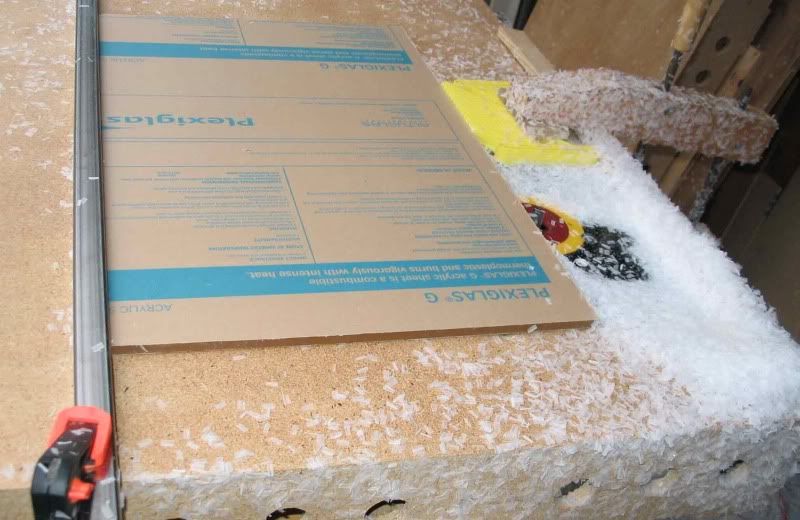
I didn't take any pix's of the cutting as I have my wholesaler do that. But the routing is the next step
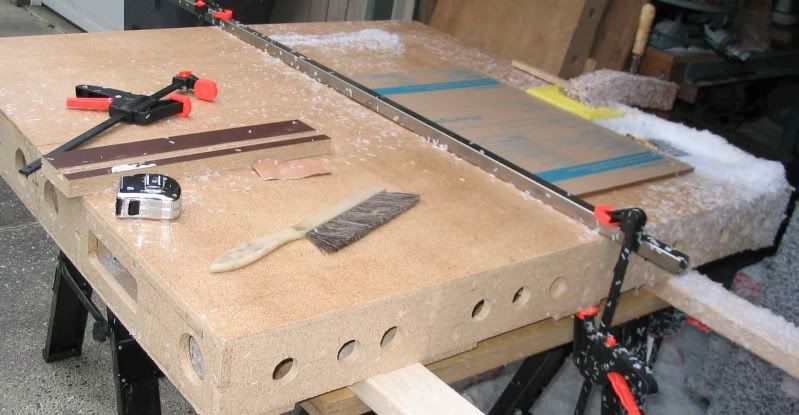
My router table, I have a total of 3 leafs if i need the room for those longer tanks
The working end
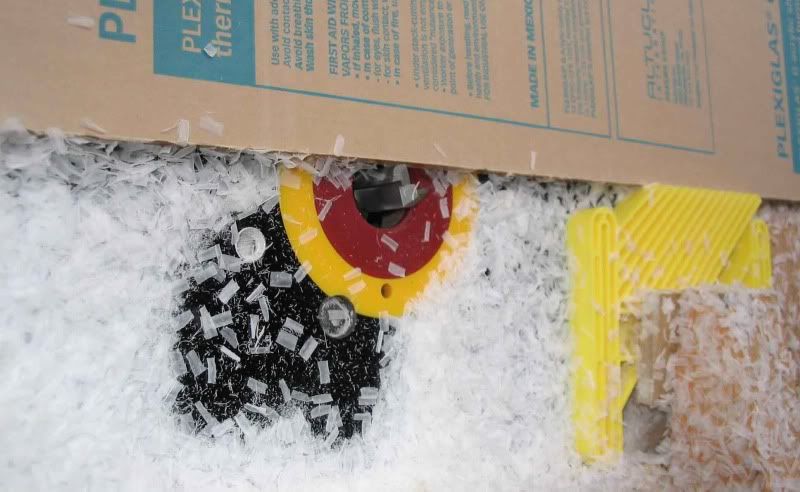
What's left after routing, a big mess that sticks to everything. Too bad I can't melt this and make a sheet of plastic
The ends pieces
The baffles
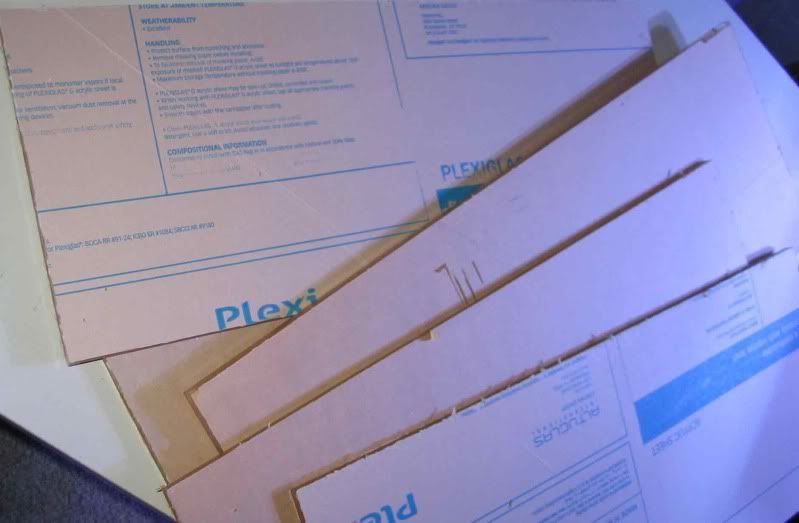
The front and back and top and bottom pieces
The filter Sock Holder
The tools:

-
I'd do it if I were closer. All you need is 12ga 3wire (wire) to extend your current plug. HD/Lowes has it in the electrical wire section, it's thick and yellow (when I bought mine) and just need a 220v male plug. You can DI, just follow where the current wire goes to, 2 hots and one common/gnd and wire up the new cord the same and make sure the plug is wired the same the 2 hots and the other common/gnd
-
Just 2 baffles as muddyblue said. I have 3 in my sump and over, then under, then over again and have noticed that bubbles will not go under the 2nd baffle and instead get pulled down about an inch and then float up and burst after the first.
-
haven't decided if i will paint this black of just leave it
-
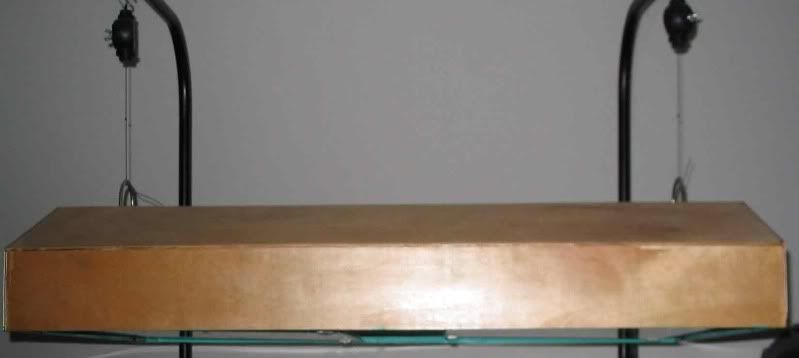
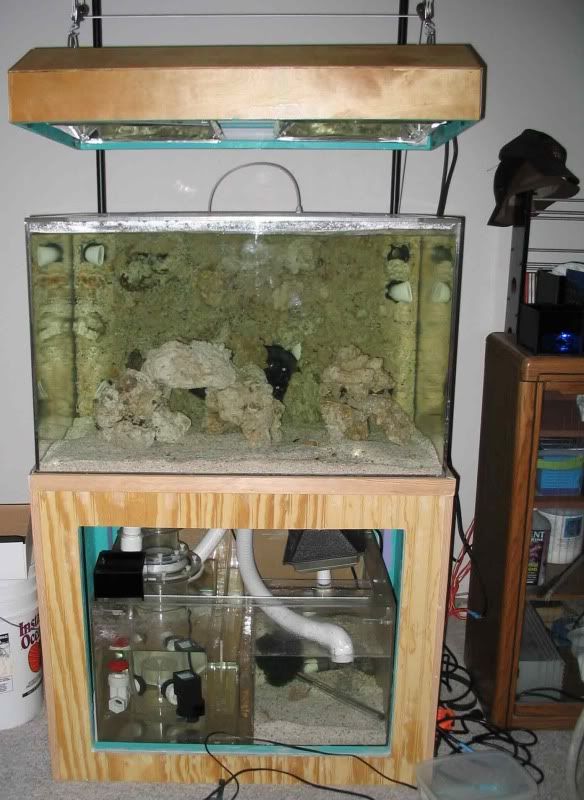
My current tank I DIY - just about everything including the skimmer and Calcium Reactor. I wanted something different than the std hood and went with a pendant, it houses 2x DIY Lumenarcs w/250w HQI's Oshio 20k's, 2x sctinic VHO's and 2x super actinic's VHO and 2x PC fans
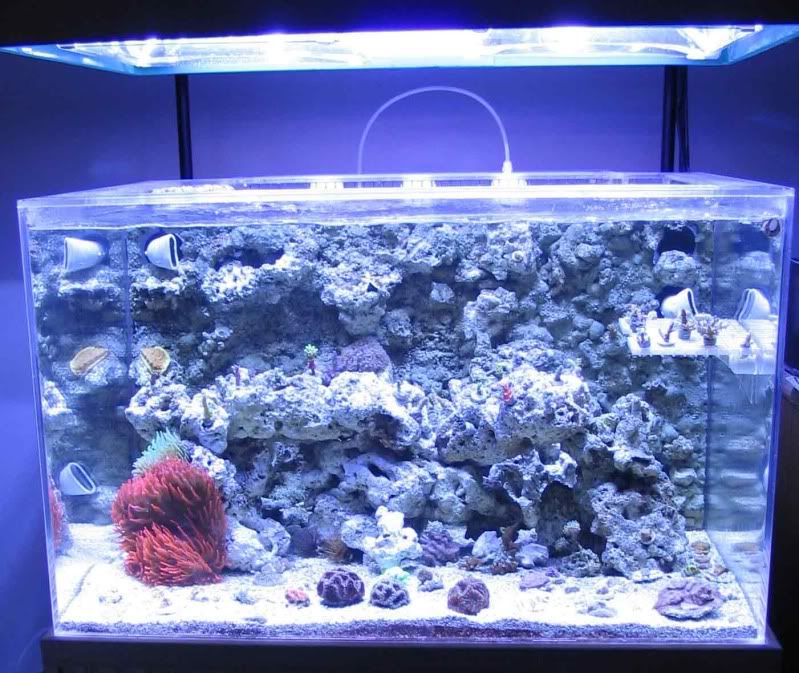
No heat issues and it's adjustable and comes off eaisly
-
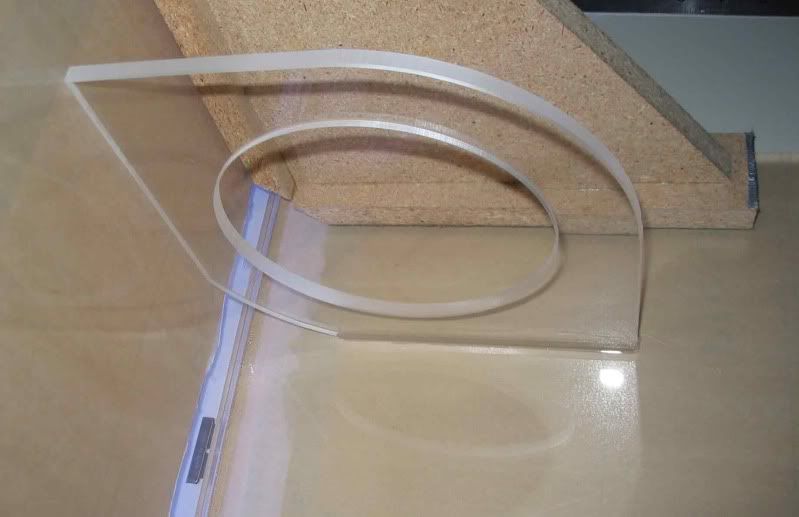
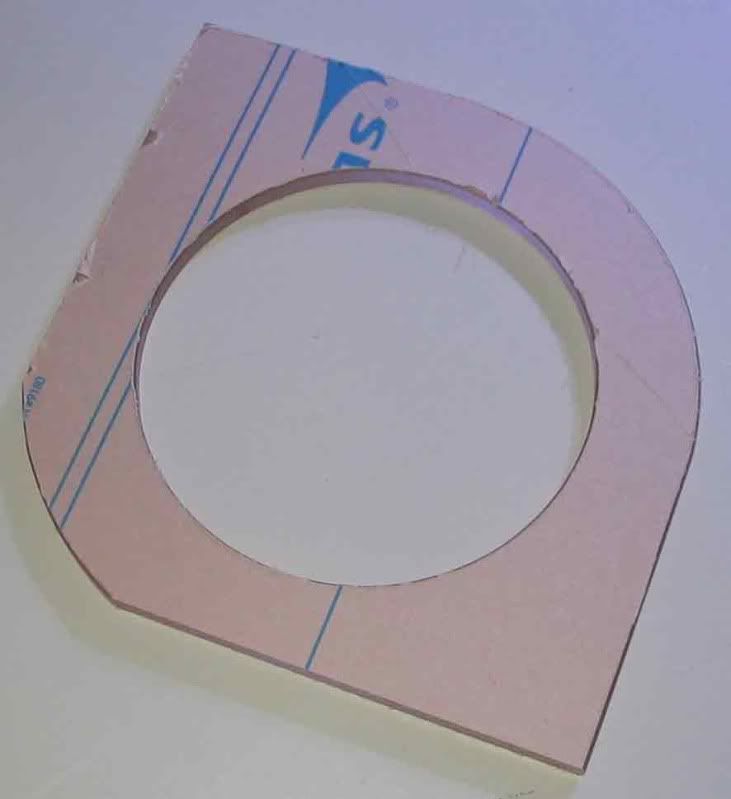
Well, you could diy Lumenarcs and I made my own hanging pendent.
I used this for the material (makes 2) this pattern (see below)
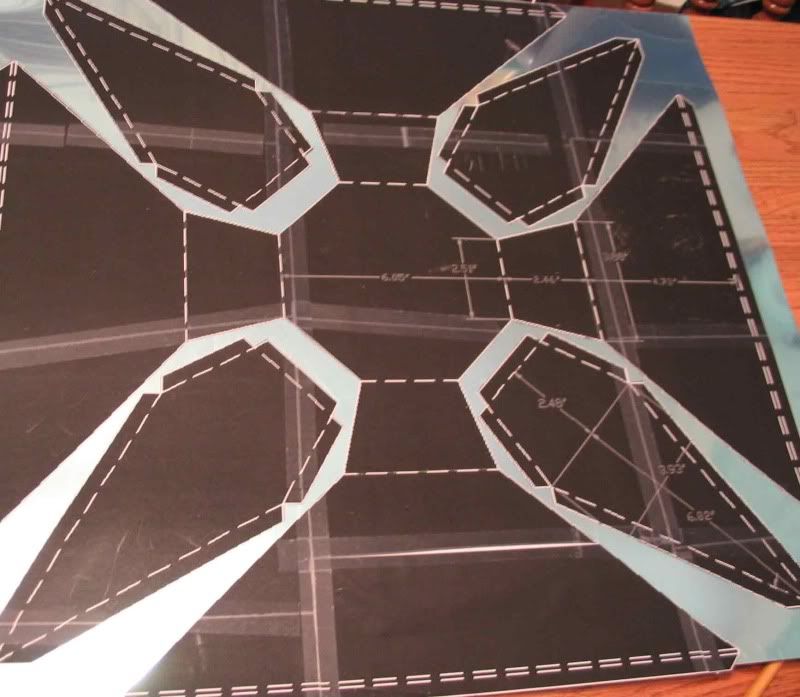
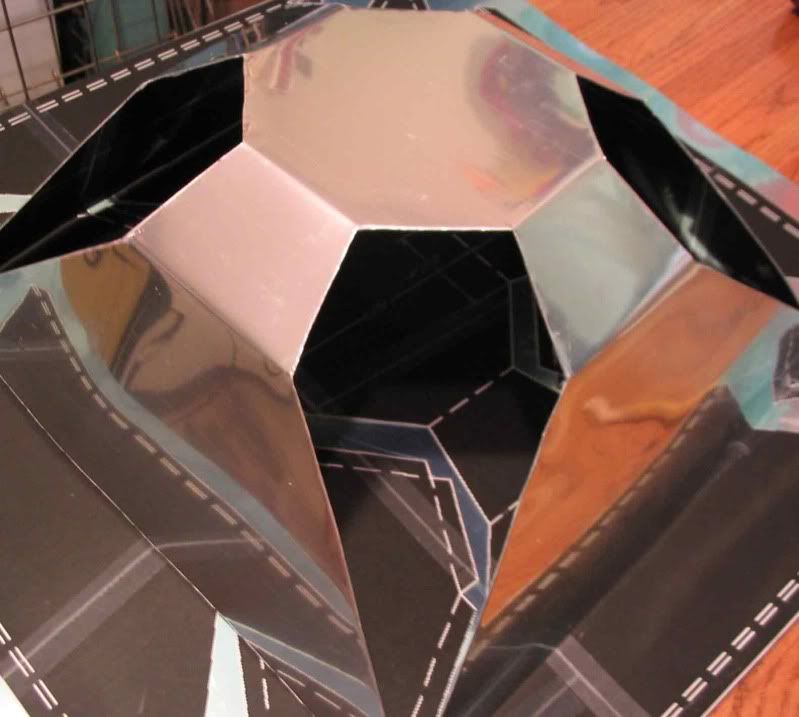
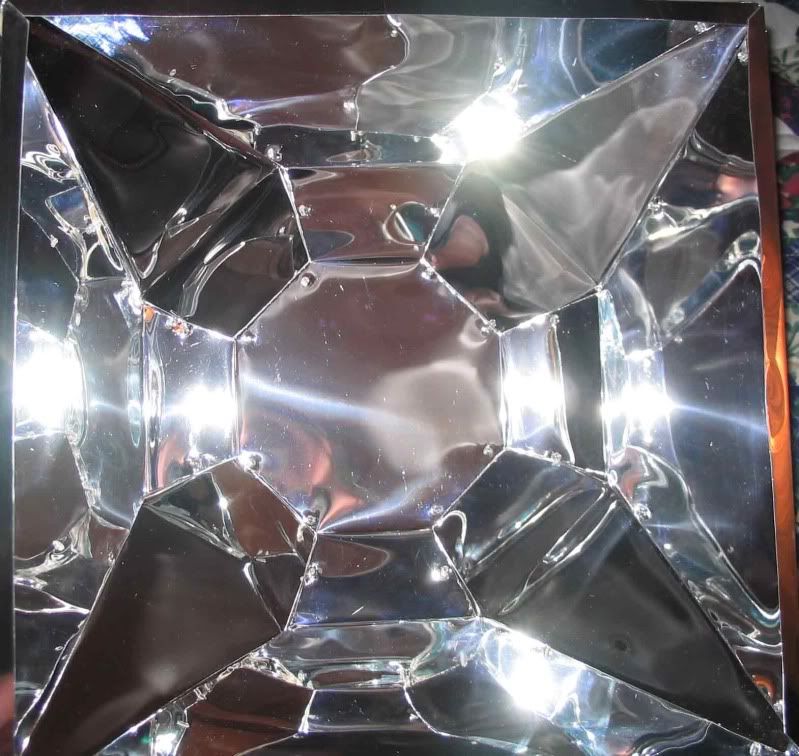
As mentioned, there is just enough room for the Lumenarcs and in mine I have 2x actinics on either side - stuffed in.

-
Looks really nice - on my list too
-
-
 not to nit-pick but in the trade the dimensions are given this way. 2 filter socks, the skimmer will have to be external then, fuge with frag area, will you have a controller? You will need prob holders, do you use all 3, temp and PH, ORP? What area will your ATO go into? You'll probably have a calcium reactor, want a effluent cup or drain into the skimmer area for the skimmer to blow off the CO2? Return will be external? What height did you want your first baffle?

Aquarium options
in Reef Keeping
Posted
You can do something like this